Preliminary Settings
Before you begin drawing, we look at other useful settings.
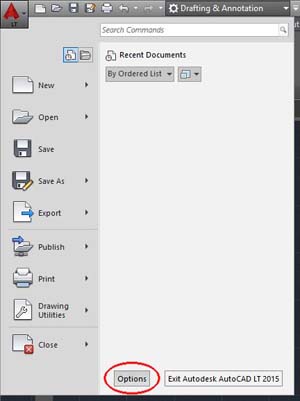
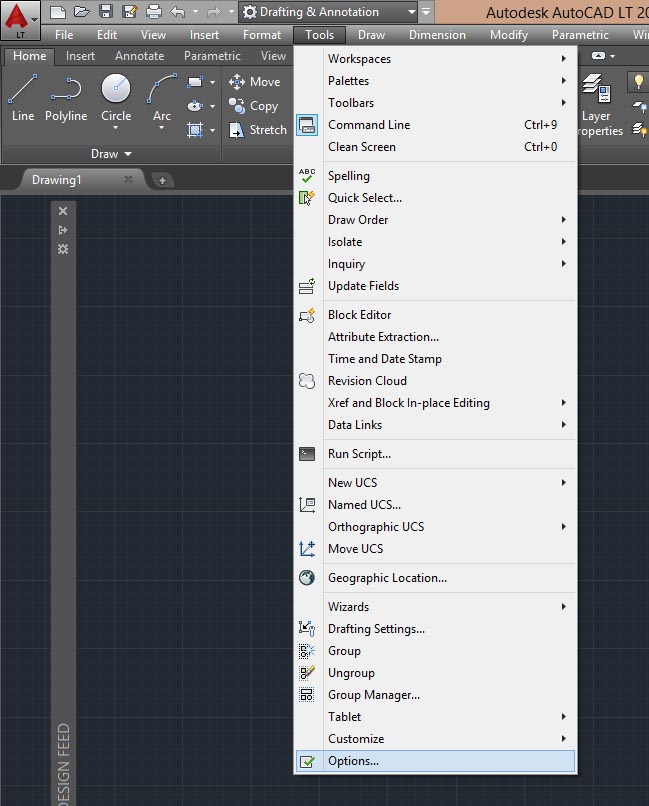
Click with the mouse on the symbol of AutoCAD in the top left and then on the "Options" button or on the menu "Tools > Options ..." as in the following images.
You will see a window containing various tables from which you can set all sorts of things about the interface of AutoCAD, such as the background colour and other parameters that affect the operation of the program.

Ok, now click the "Open and Save" tab and under the "Save as" open the popup menu by clicking the arrow to the side.
It's the one highlighted in blue in the previous image...
In this menu, you will see some entries with the words:
AutoCAD 2013 drawing (*.dwg)
AutoCAD 2010/LT2010 drawing (*.dwg)
AutoCAD 2007/LT2007 drawing (*.dwg)
etc.
These entries written on the side (*. dwg) represent the types of files that our program can open and save. More specifically, for example by setting this item to "AutoCAD 2010" set AutoCAD that every time you save a drawing, it is saved in AutoCAD 2010 format.
What does this mean?
As we have seen there are several versions of AutoCAD and every year comes out a new, sometimes is also updated the format of the generated files.
The most important difference between the "release" of program is that older versions cannot open drawings created by the later versions, unless those who have saved the file has not set his program for saving in an old version, as explained before.
This is very important to know especially when collaborating with other users and you have to give or receive drawings.
Beyond this, every file saved from AutoCAD will be of type "dwg", the files that normally AutoCAD manage have "dwg" extension.
For example, if we save a drawing and call it "Plan" or "kitchen" it will automatically save in this way:
plan.dwg
kitchen.dwg
Where the point . separates the filename from its extension, which identifies a file type to another.
There are indeed many types of files with many different extensions:
"Pianta.doc" would be a text document
"Pianta.bmp", .Gif, .Jpg, .Tiff and others, would rather the images.
I digress a bit from AutoCAD but if you are not already aware, this information will be useful.
The "dwg" however, is not the only type of file that can be read and saved from AutoCAD, but we will see this later.
Then return to the Options window of AutoCAD, and always in the "open and save” tab.
Look further down the "Automatic Save", which should already be enabled, and the window of the "Minutes Between saves" type such as 10.
In this way, AutoCAD perform an automatic save every 10 minutes of the drawing you are working on, and put it in a specific folder.
This feature is very useful for not losing your work, as you will see that sometimes the program crashes, or it happens a blackout or accidentally delete the file you were working.
You will then be possible (and useful) to go back to the file that was saved from AutoCAD automatically, as we shall see....
We are now going to set the right click of the mouse.
Also in the options window, click on the tab "User Preferences” and then again click on the button at the top left "Right-click Customization”.
In the window that appears, activate the first box for each item, click on it, for the following items.
Default mode, Edit mode, Command mode
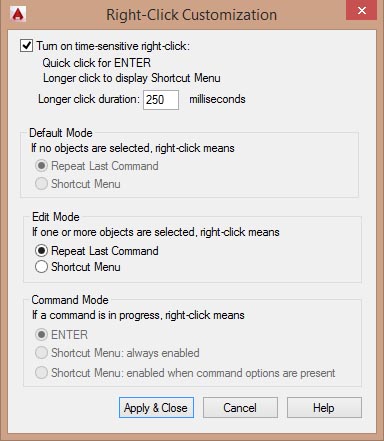
According to the release of AutoCAD you have, you can alternatively check the first entry is in the window, “Turn on time-sensitive right-click”.
Finally, click on "Apply & Close".
In this way, clicking the right mouse button, after completing a command, AutoCAD will repeat it.
If you just finished drawing a line for example, after clicking the right button will be repeated the command "line", and so for all other commands.
This feature helps a lot to speed up the work, accustomed
to use it, during the course you will often put into practice.
On the tab "Display", next to "Color scheme", you can select the "light", so the toolbar will become gray, similar to older versions of AutoCAD
If you click on the "colors", will open the window you see below and here you can set the colors of the program interface.
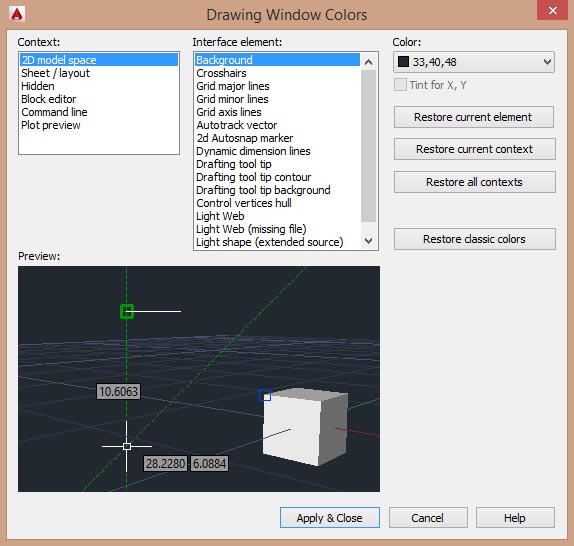
On this window select in the central area at the top, the first item "Background" and then open the color menu on the right and select the desired color for the background. Usually used black.
After click on "Apply & Close" to assign changes made to the colors.
Now click "OK" at the bottom of options window, to close it and accept the changes.
What has been said so far are general settings to be done only once, the next time you open AutoCAD will not need to repeat them.
If for any reason the AutoCAD crashes before you've closed and reopened, the settings you just made will be lost.
Background Grid and Snap to Grid
In the background of the drawing should be present by default a “grid”, light gray and in slightly contrast with the background.
If we press the "F7" key on the keyboard is off the grid and the background is cleaner.
By pressing again F7 is reactivated and we see that the bottom bar is present the corresponding button that changes color accordingly, the grid can also be managed by that button.
I have always drawn with grid set to off, use it according to your preferences it has no particular importance.
Very important is the key next to that of the grid, the "snap" to the grid, which also corresponds to the key "F9".
If we activate this key, the cursor will be bound to the grid and we can therefore draw only on grid intersections.
You may notice that when this feature is on, the cross-hairs is jerky, especially if we are close to the grid with the zoom.
This feature must be disabled.
SUMMARY:
1) Open AutoCAD and if necessary customize the interface by activating the toolbar and placing them at will on the screen.
2) Open the window using the menu "Tools > options..." and set the auto-save and if necessary set saving files on older versions. (For the moment, leave as is with the default setting).
3) Again in the “options” window set preferences for the right mouse button, in the "User preferences" tab.
4) On “Display” tab, you can set as you like the background color of the workspace.
5) Turn on or off the background grid according to your preference "F7"
6) Always leave off the snap to grid "F9"
Tweet