“Fillet” and “Chamfer” commands.
These two commands "Fillet" and "chamfer" , you will also find them on the "modify" toolbar and have the following icons:
![]() = Fillet .
= Fillet .
![]() = Chamfer .
= Chamfer .
Need both for joining two lines not parallel (*) or that are perpendicular, and when they do not meet each other, or when they are intersecting.
Let's see how they differ:
With the “Fillet” tool, we can join two lines forming an angle between them, or a rounded joint.
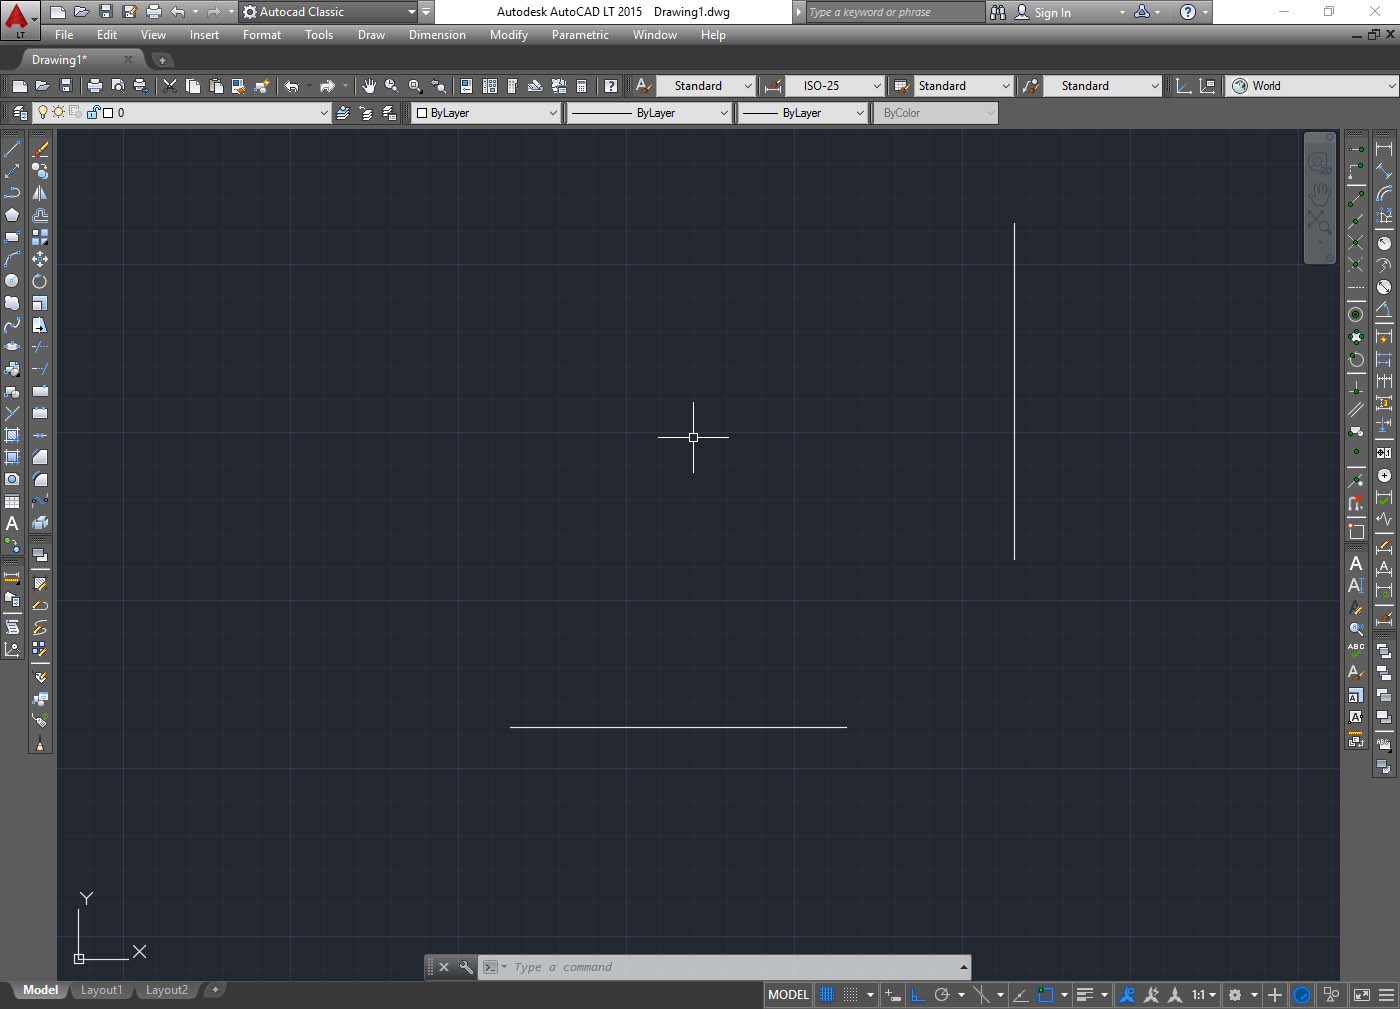
Design with "ortho" active two perpendicular lines that do not meet, as in the image below:
Now click on the fillet command
![]() and observes the "command line" at the bottom.
and observes the "command line" at the bottom.
There are two things to note, first, as already said, AutoCAD asks us to select the first item “select first object”, but on the second line is an important information: “Radius = 0.0000”.
This means that combining the two lines will create a link with zero radius, then a corner.

(You can extend the “Command line” of two or more lines making click on the top edge and dragging it up, so they remain visible more information).
Continue with the command and select one of the two lines and after clicking on the other.
The two lines join at an angle, which in this case is 90 ° because the lines were already drawn perpendicular to each other and you will automatically exit the command.
Let's do the same thing but executing a “rounded” connection.
You can delete and redo the two initial lines, also not perpendicular, or you can continue from where we came, is the same.
Click again on the “Fillet” and then before you select the first line is still observed on the last line "command line", where AutoCAD writes:
Select first object or [...]
The items in [brackets] are the options among which is: "Radius".
Attention to the syntax of these entries, the use of capital letters is the key to press to activate each option.
We are interested to "radius" then it goes like this:
Enter on the keyboard the letter "r" and then hit enter.

Specify fillet radius :
We are asked the radius of curvature that we want use and are shown the current setting <0.0000>:
Type 50 and press enter.
Now we are back to where we are ask to select the first line.
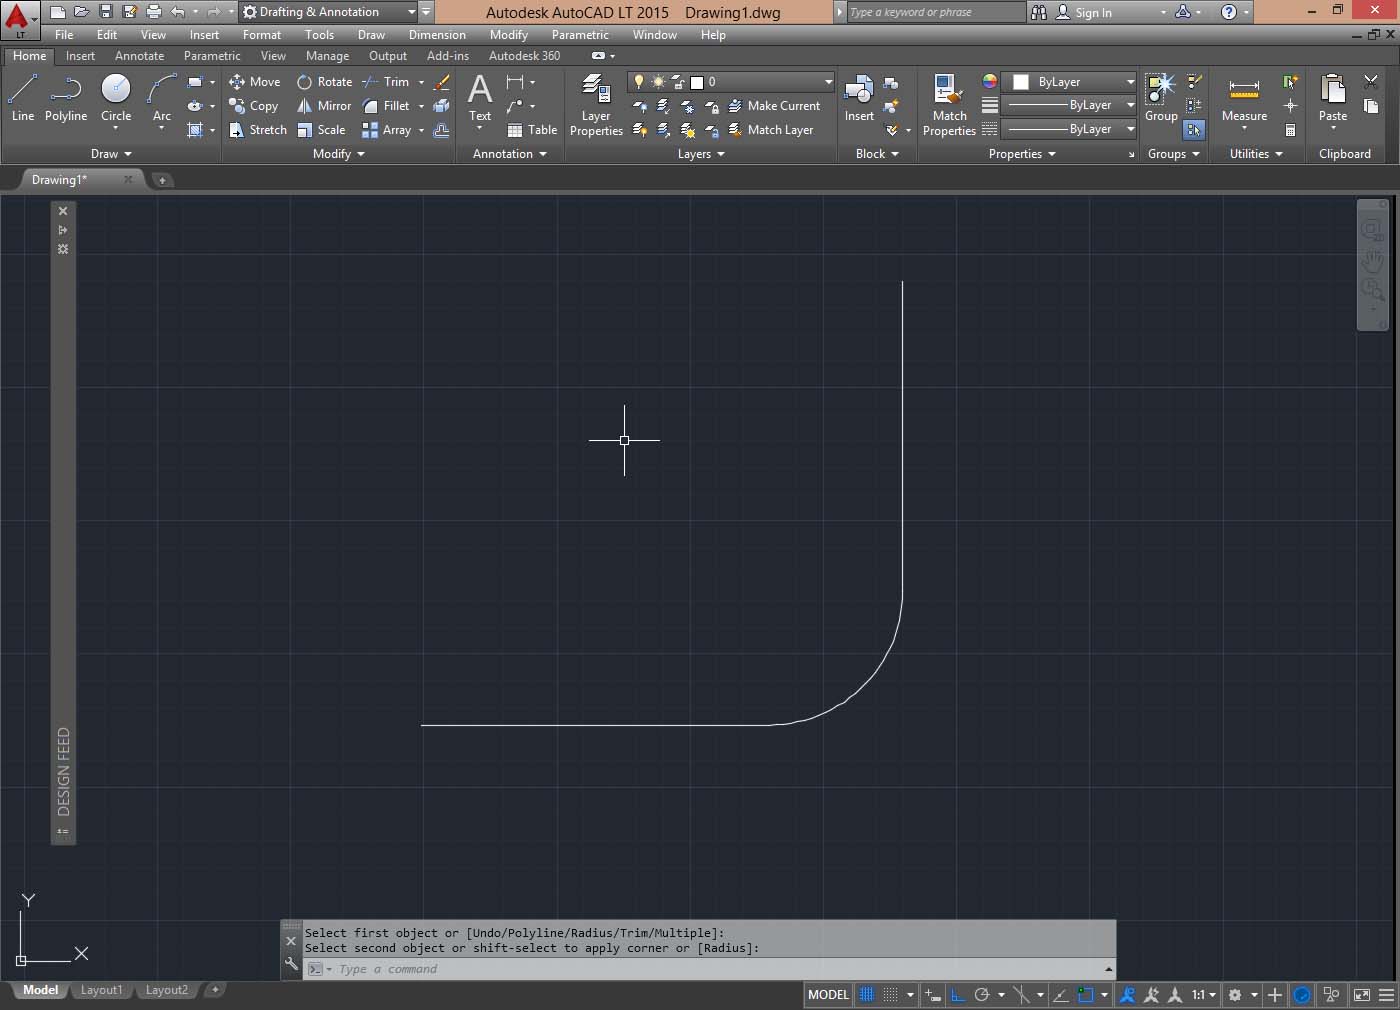
Then select the two lines, which should combine to form a curve that has radius of just 50 units and the command is completed.
I
If you repeat the command, the radius is now set to “50”, because it remain set to the last measure that we used for the connection previously done, until you close the file.
To set it back to “zero” or another measure, do the same procedure to that described above.
If you try to repeat twice the Fillet on the same lines without deleting them, using for example a radius larger than the first, you'll notice that the first part of the curve fitting is done on the screen as an independent object, an arc.
This is because by performing a fillet between two lines, the lines get longer until they meet, but do not become a single object, in the case of a rounded joint is formed a third curved part, precisely an arc, with the radius that you have established during the'command.
(*) Regardless of the set radius, if you run a "fillet" (connection) between two parallel lines, they are connect to each other forming a semicircle.
Now the "chamfer"
![]() .
.
This command is similar to the "Fillet" but instead of a curve, as mentioned above, create a chamfer between two lines are not parallel, and that they do not meet or are crossed each other.
Delete everything and redo the two perpendicular
lines as before, then press the Chamfer tool by clicking the icon ![]() on the modify toolbar and as usual, look at the command line.
on the modify toolbar and as usual, look at the command line.

First, the program asks you to select in sequence the two lines to merge, but on the middle line is now written: Current chamfer Dist1, Dist2, with values that should be initially “zero”.
If we select the two lines with these values set to zero as in the previous case, you will create a simple angle between the lines.
Pressing the “d” on your keyboard and then “enter”, at this point prompted the first value for the “Distance1” type 50 and press enter.
Now we are ask to value the “distance2”, press enter to confirm the same distance used for the first value.
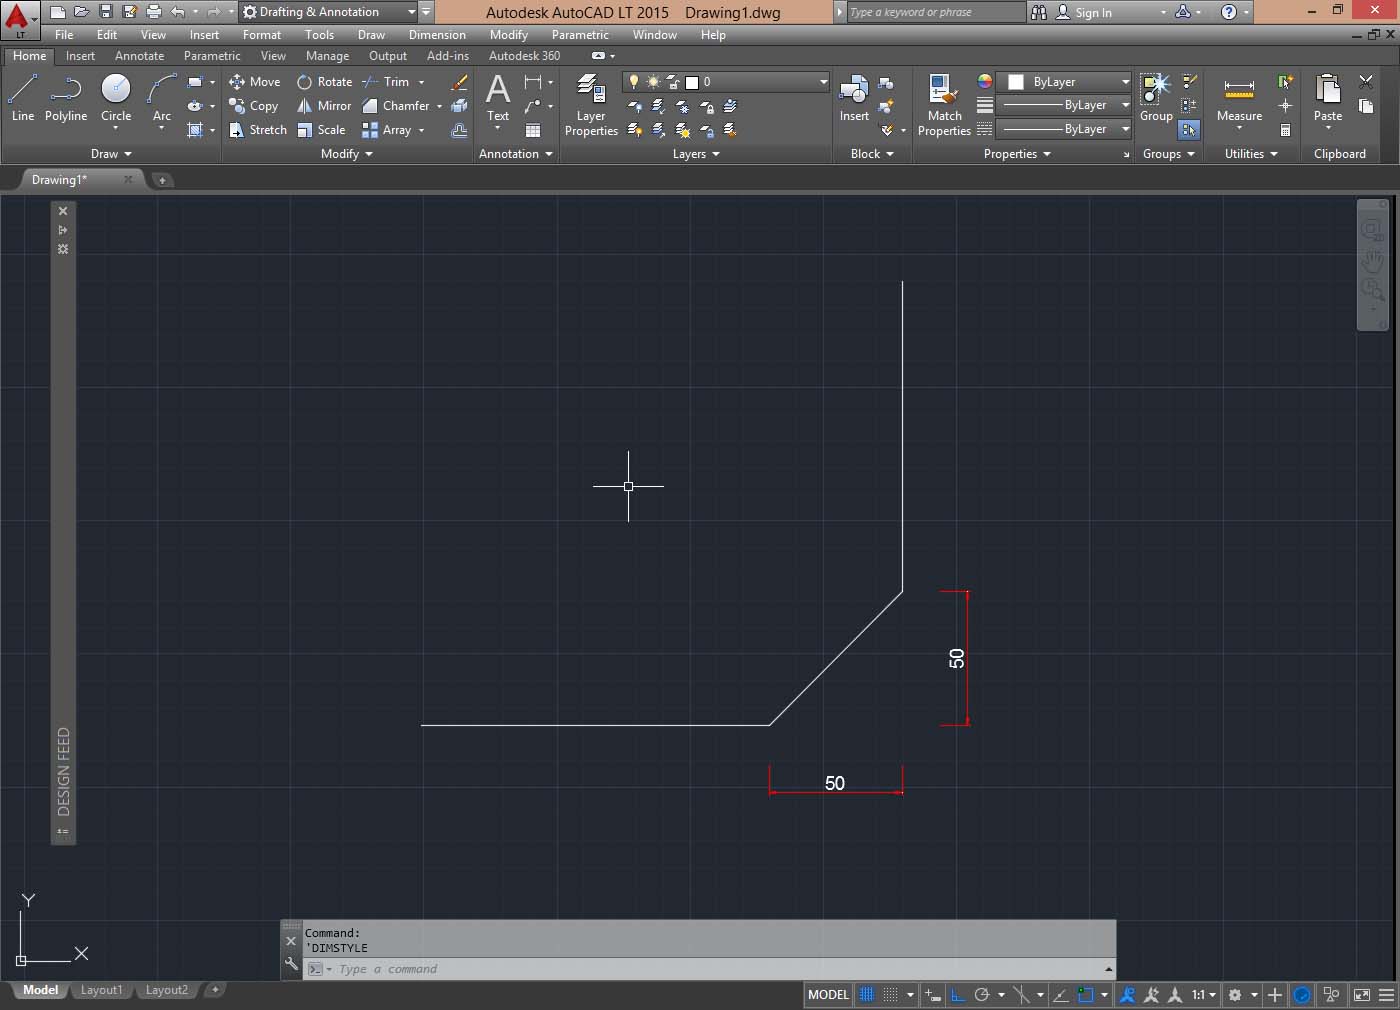
Now you can select the two lines, which join to form a rope that will distance as the assigned values.
These values could have been too different from each other, forming an asymmetric chamfer.
When you repeat the command, you'll find the distance values previously set.
As for the "Fillet", the segment that is formed will not be joined into a single object with the other lines, but we have three items separately.
The following image show two dimensions to see how involved the values set in the "chamfer" command.
Tweet