“Polyline” and “Edit Polyline”
The polyline is a line type with which we can draw, but has different characteristics and functions more advanced than the normal line that we have already used.
We initiate this command by pressing the Polyline
![]() and draw a line with some segments by clicking repeatedly on the screen with the left mouse button, at random, then do click with the right to end the polyline.
and draw a line with some segments by clicking repeatedly on the screen with the left mouse button, at random, then do click with the right to end the polyline.
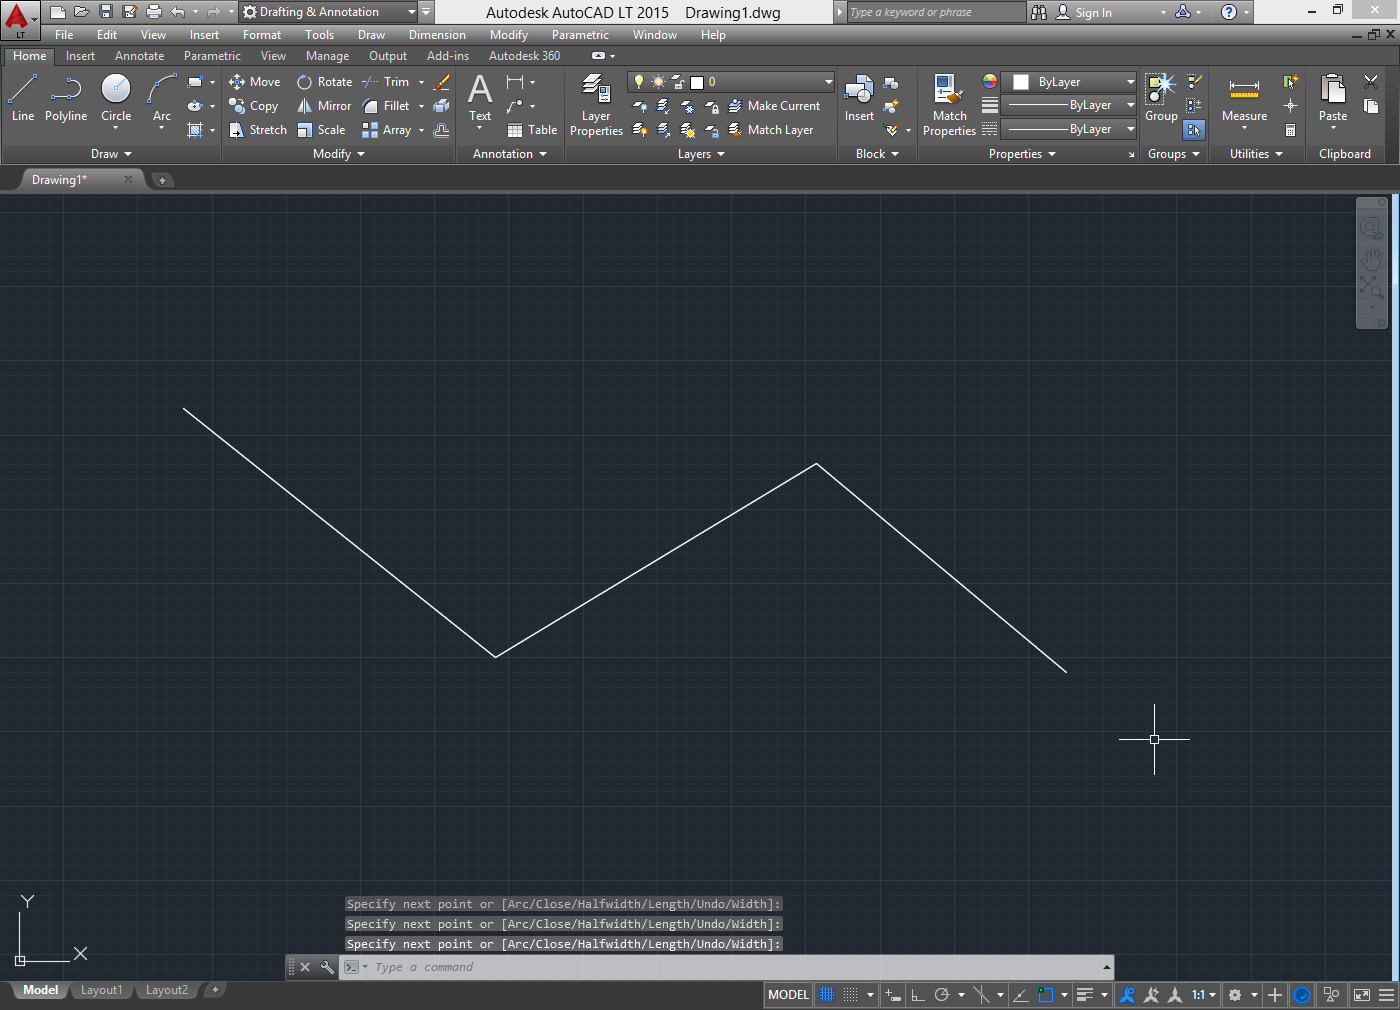
The fundamental difference between a line and a polyline drawn in this way,is that the polyline is identified as a single object, in fact, if you click a segment, we see that it is highlighted and selected the entire polyline while in the case of each normal line,segments may be selected independently.
Figures such as rectangle, polygon
(not the circle and the ellipse) designed using the appropriate commands we have seen, therefore, correspond to closed polylines as they also are identified as individual objects.
Through the command "edit polyline"
![]() , which is
located on "MODIFY II" toolbar, we can assign to a
polyline thickness by wich it will be displayed on the screen; we can smooth
the vertices, transforming it into what is called a "spline" and vice versa;
we can turn a normal line to polyline and add to this other segments
that have coincident vertices.
, which is
located on "MODIFY II" toolbar, we can assign to a
polyline thickness by wich it will be displayed on the screen; we can smooth
the vertices, transforming it into what is called a "spline" and vice versa;
we can turn a normal line to polyline and add to this other segments
that have coincident vertices.
We see the first case:
After drawing a polyline segments, activate the command "edit polyline"
![]() .
.
On the "command line" appears:
"Select polyline or [Multiple]"
Then select the polyline.
(Typing "m" for the [Multiple], then press enter, you can select multiple polylines if present).
At this point we can choose various options, as indicated on the command line, by typing out their letters of abbreviation.
Then type "W" for width and press enter.
Now type the value of desired width, e.g. 5 and press Enter.
The polyline will be expanded, the command however, unlike other will not be concluded,
and on the command line, the options are still present.
To close it, we must press "Enter" or the right mouse button.
Instead, type S for spline and press Enter, the vertices of the polyline will be getting a curved spline.
Now type D for decurve and Enter, the polyline is as good as before.
Pressing Enter again will exit the command.
If instead we have a series of
consecutive segments, or a closed figure, made from the normal line, with
this tool you can turn them together in a polyline.
Activate the command
![]() and select one of the segments.
and select one of the segments.
Since it is not a polyline, AutoCAD asks us if we want convert it (see the command line), press Enter to confirm, at this point all options will appear as before.
Now type "J" to join and select all other segments, or arcs, which have the vertices coincident, selecting them individually or all together with one or more selection boxes, then press enter twice to exit the command.
All selected lines will be merged and turned into one polyline.
To do these, lines must have a vertex coincident, they must touch; if not, even a very short, will not be join together.
Let's see how this feature could be useful.
Suppose we have the plan of a room, which may be rectangular in shape but also more elaborate, on which we must draw a false ceiling with a pattern that follows the perimeter of the room.
We can start to make the offset of each wall to the inside, but then we should cut or join all the lines intersect.
If instead we are combining into a polyline the walls of the plan, we will be later able to perform with few offset, some shapes that are concentric and equidistant from the perimeter, then without having to make other interventions swaging.
What we have seen are the options for the polyline used more frequently, especially that for the “width” and the “join” features.
Tweet