


Introduction to “Ribbon” and “Toolbars”
We have seen that over older versions, for several years now have been grouped commands of AutoCAD in a "ribbon" which includes several groups of commands that were previously included in the various "toolbar" of the classic interface.

The "ribbon" is composed of several tabs "Home, Insert, Annotate, etc." Which in turn contain groups of commands such as "Draw, Modify, Layers, etc.; these groups of commands are the same as also related to the "toolbar" of classic interface. Most of the functions normally required for the work, are grouped on the "Home" tab. This shows the main toolbars, which main commands report a key larger than others do, besides, all symbols or items that are accompanied by a small downward pointing arrow, hide more commands that can be viewed by click on this arrow and then activated by clicking on the desired one. Another feature of the Ribbon, you can reduce the size by clicking in sequence on the little button to the right of the tab names of the bar, we can reduce this to smaller, in a row of buttons, or tabs and group titles, only tabs, and bring it back to the initial size. See pictures below:
Main Ribbon
Minimize to panel buttons

Minimize to panel titles

Minimize to tabs

In each of these settings, when we go with the cursor over one of the buttons, titles or tabs, these will expand showing all its commands.
The classic "Toolbars".
If we want to use the classic interface with the toolbars, with versions 2015/2016 we can proceed as follows:
- Sets the menu bar so that it is visible
- In the menu bar go to "Tools" > "Palettes" and click on the item "Ribbon".
This way you disable the ribbon.
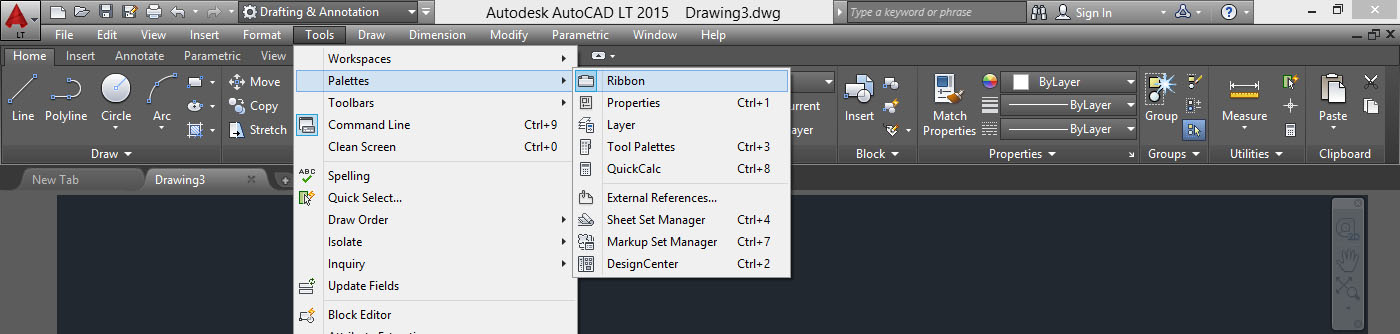
Then again go to "Tools" > Toolbars > AutoCAD LT, and you will see the following pop-up list:
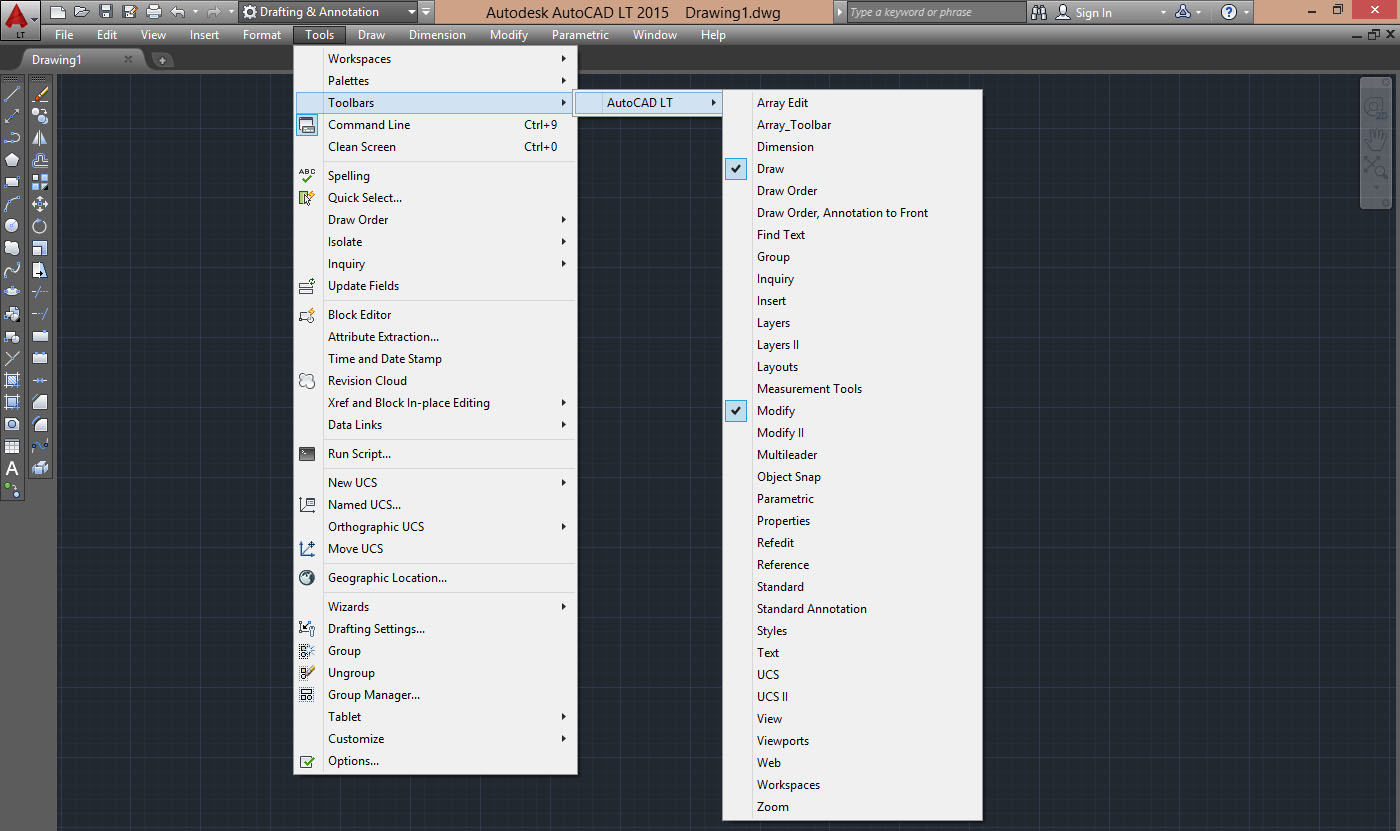
The entries in this menu correspond
to the various "toolbar" visible and invisible, and as you have already
understood, from here you can enable or disable it.
Then click on the
items "Draw" and "Modify" to make these toolbars visible.
If appear
in the drawing area you can be moved it by clicking and hold on, to
their left edge and dragging them (one at a time) on the left side of
the screen, at some point you will see that it will automatically become
vertically, at this point release the left mouse button.
The "Draw" toolbar.

The "Modify" toolbar.

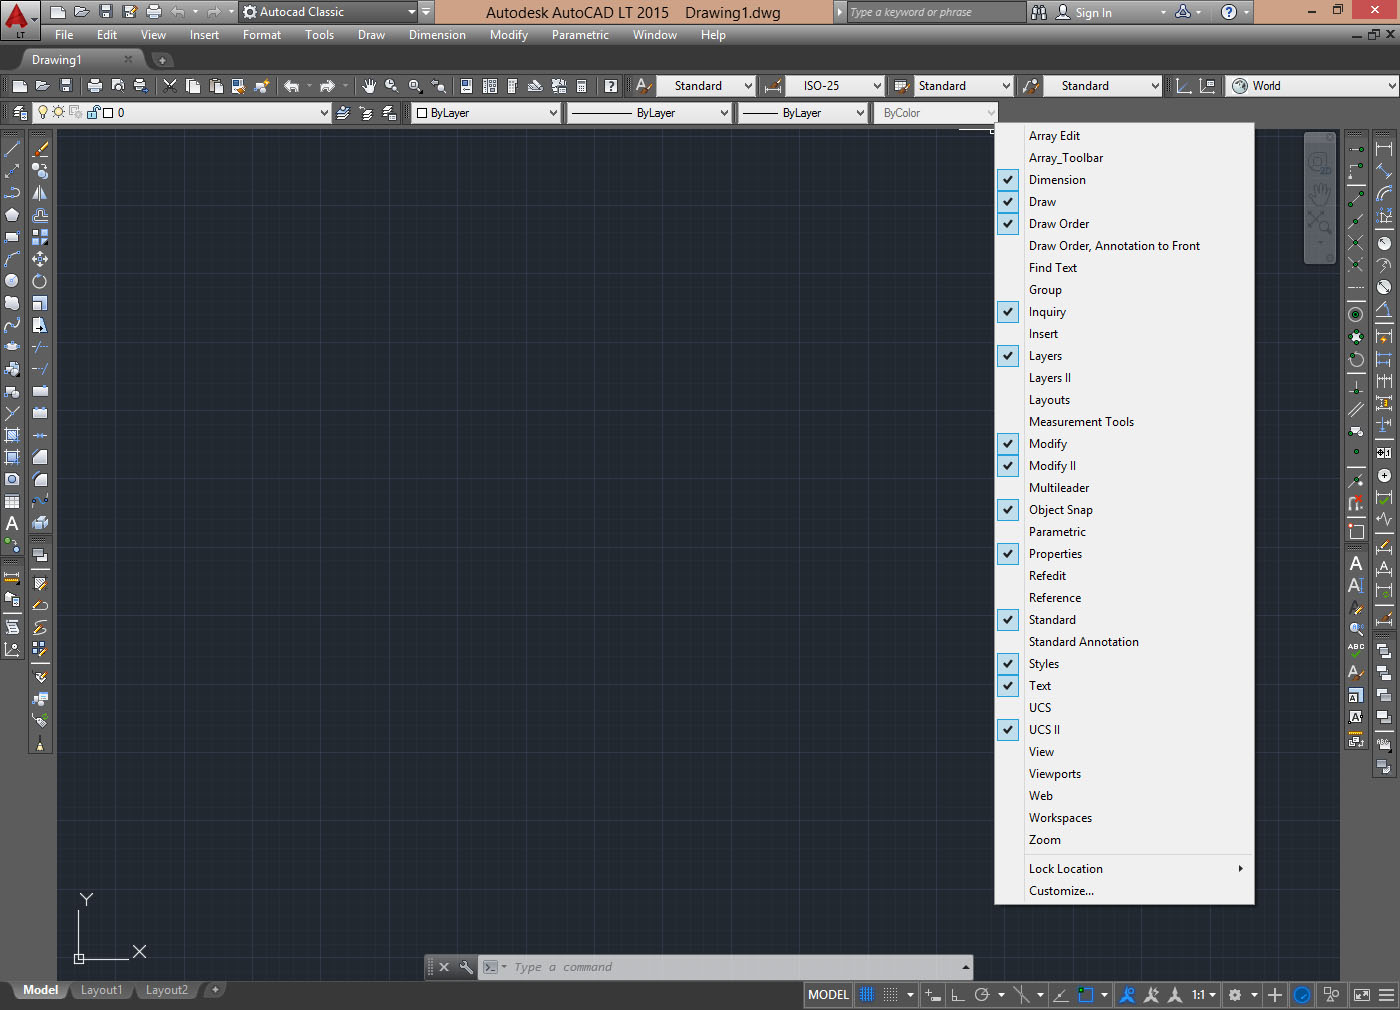
Now to activate additional toolbar, simply click with the right button over any toolbar already open and will open the pop-up where it can activate or deactivate other toolbars.
In this way, you can customize the program interface as you want, by activating the toolbar that you use frequently and placing them where you want, to the right, to the left, at the top, or on the drawing area.
Following an example of AutoCAD LT 2015 with custom interface and the toolbars places in the “classic” style of the program.
From the pop-up list, you can see that have been activated.
After setting the interface, you can save it to reload if necessary.
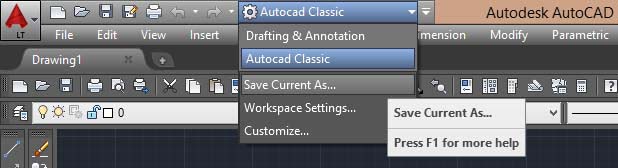
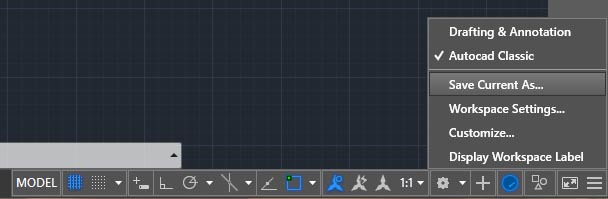
Select the menu "Workspace" and click "Save As ...
Then type the name you want and click OK, as you see I have called “AutoCAD Classic” and if necessary, it can be load from this menu.
Tweet