Part 1
INTRODUCTION TO AUTOCAD AND PRELIMINARY SETTINGS
I will give to assume that you have the software already installed on your computer and ready for use.
If you do not have the program, you can download a trial version from Autodesk's website at following address:
http://www.autodesk.com/products/autocad-lt/free-trial
Below I show you some pictures of the interface of different versions of AutoCAD, from the oldest to the most recent, which the various control buttons are been slightly updated in both graphically and in the layout.
Do not worry for now; keep in mind
that in general the symbols represented are the same.
AutoCAD is produced in LT (light) version and in the
normal version, (Full).
The light version does not have the ability
to create 3D designs (three-dimensional), but can open and view it, and
with the most comprehensive and expensive full version, you can create
it, through dedicated instruments and additional functions.
This
course will describe the basic functions of the 2D software.
AutoCAD 2007/2008
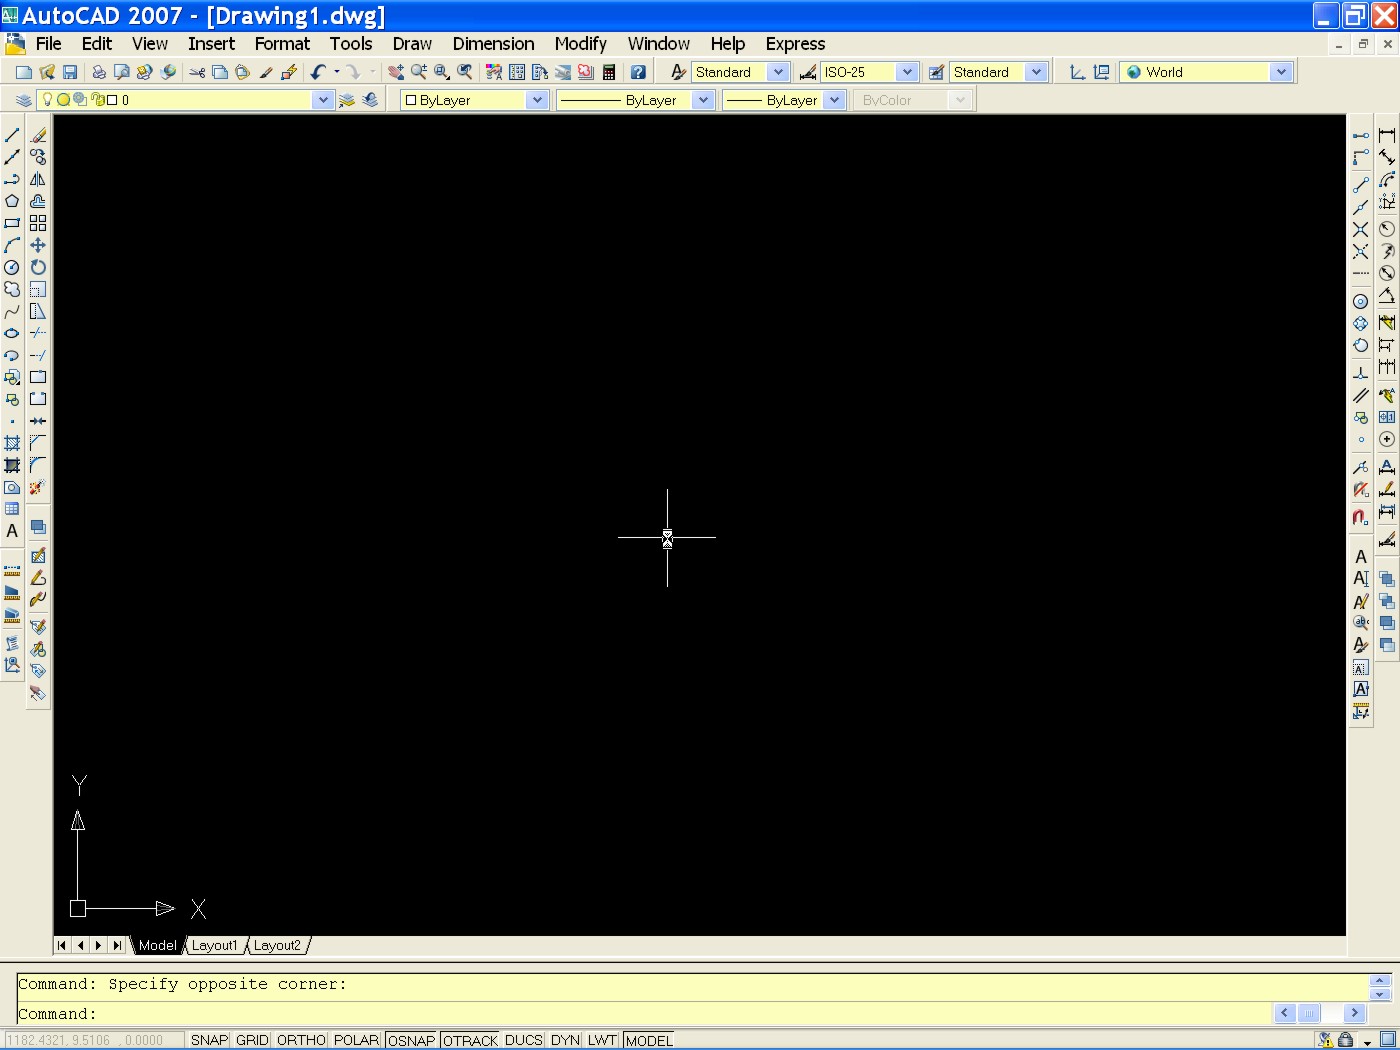
Over here an “old” version of AutoCAD that as you can see, similarly to almost all programs for Windows, it appeared with a line of pop-up menu at the top, with the commands “File, Edit, View, Insert etc...”.
We have also various “toolbars”,
that is all those buttons corresponding to the various commands that we
will see later, which are divided into groups that can be customized by
making them visible or not visible and moved to the desired position.
In subsequent years, the interface has changed.

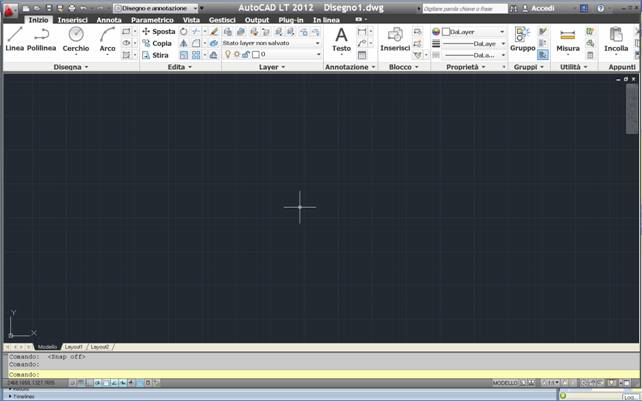
Image above AutoCAD 2010 – Image below AutoCAD 2012
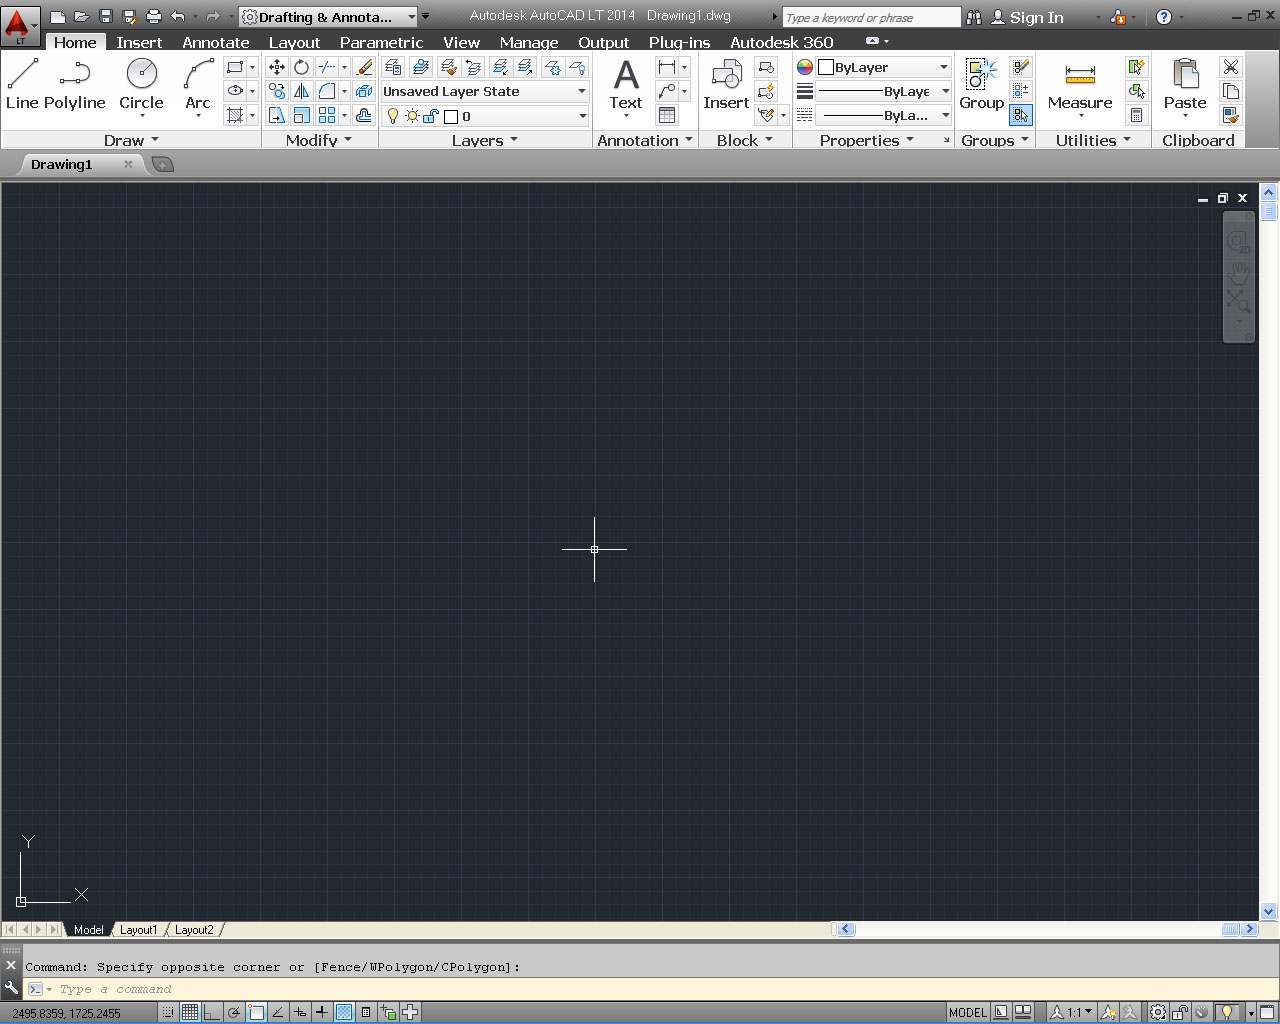
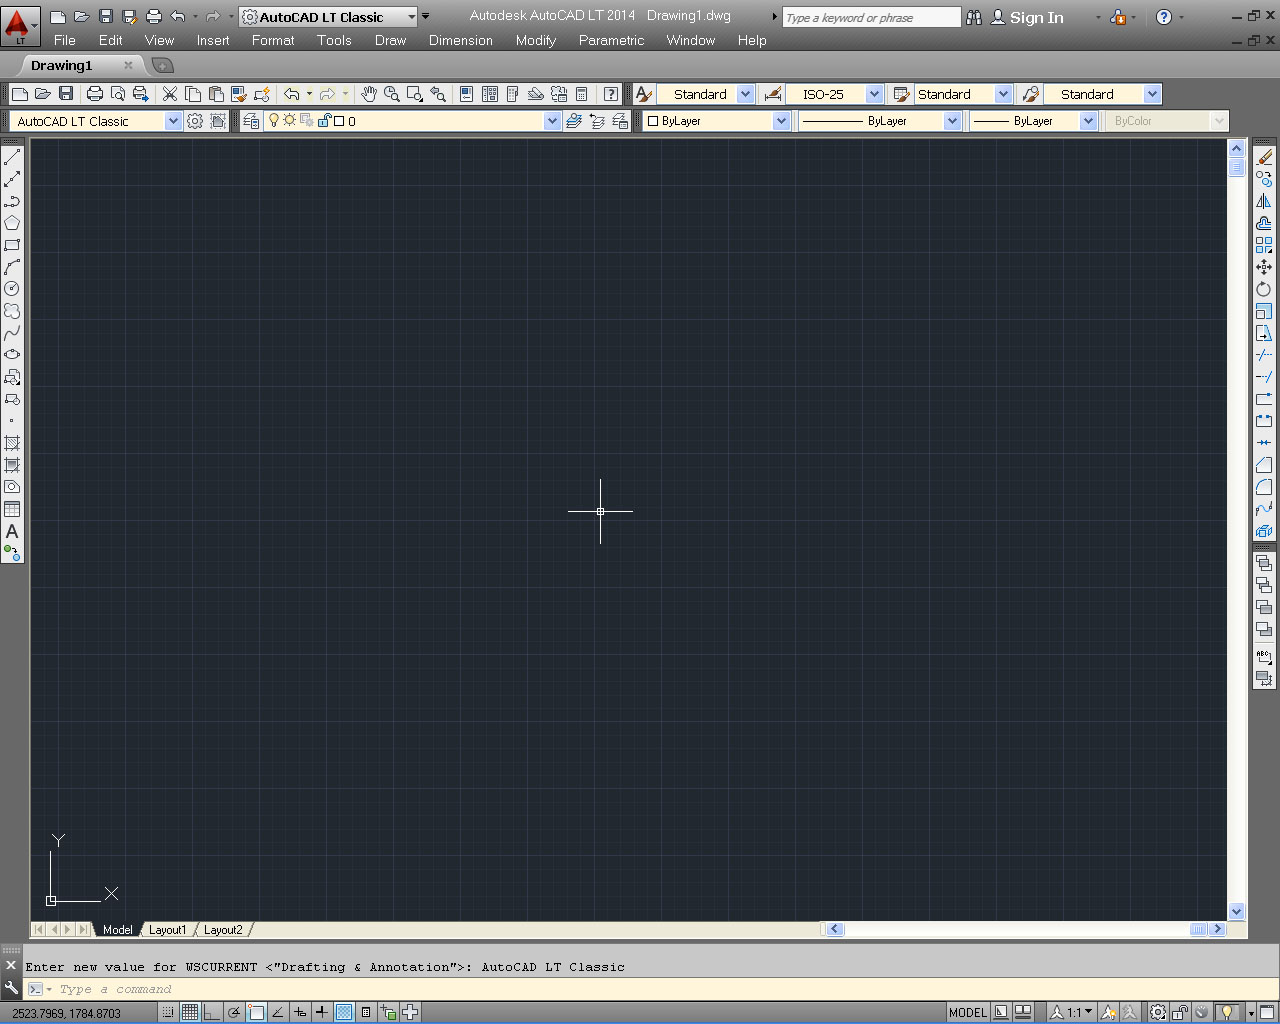
Above AutoCAD 2014 “drafting workspace”, below “classic workspace”
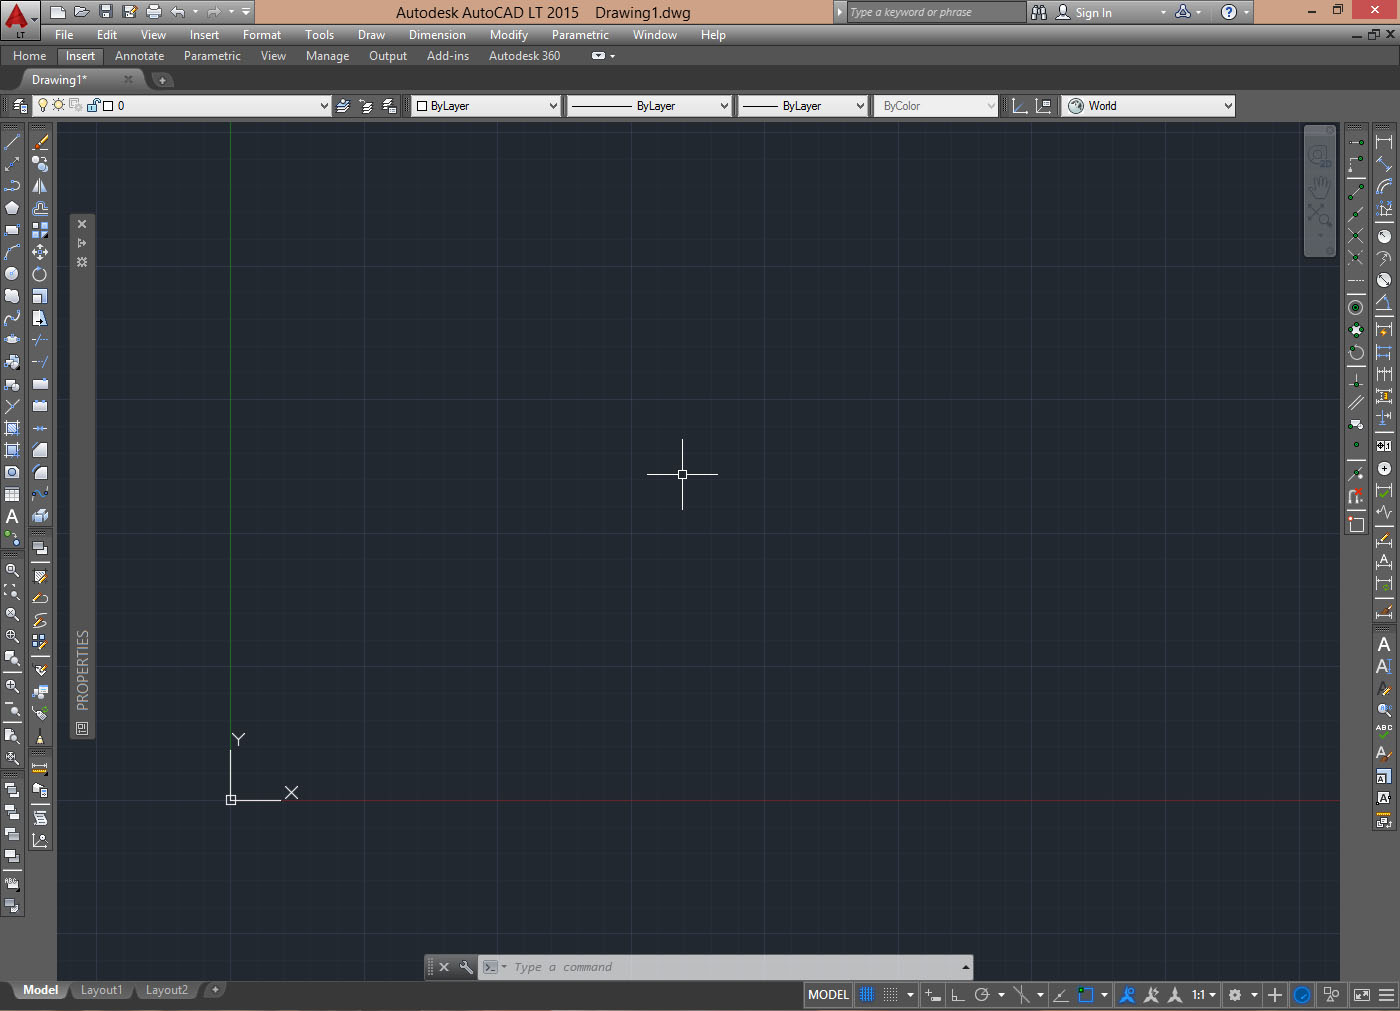
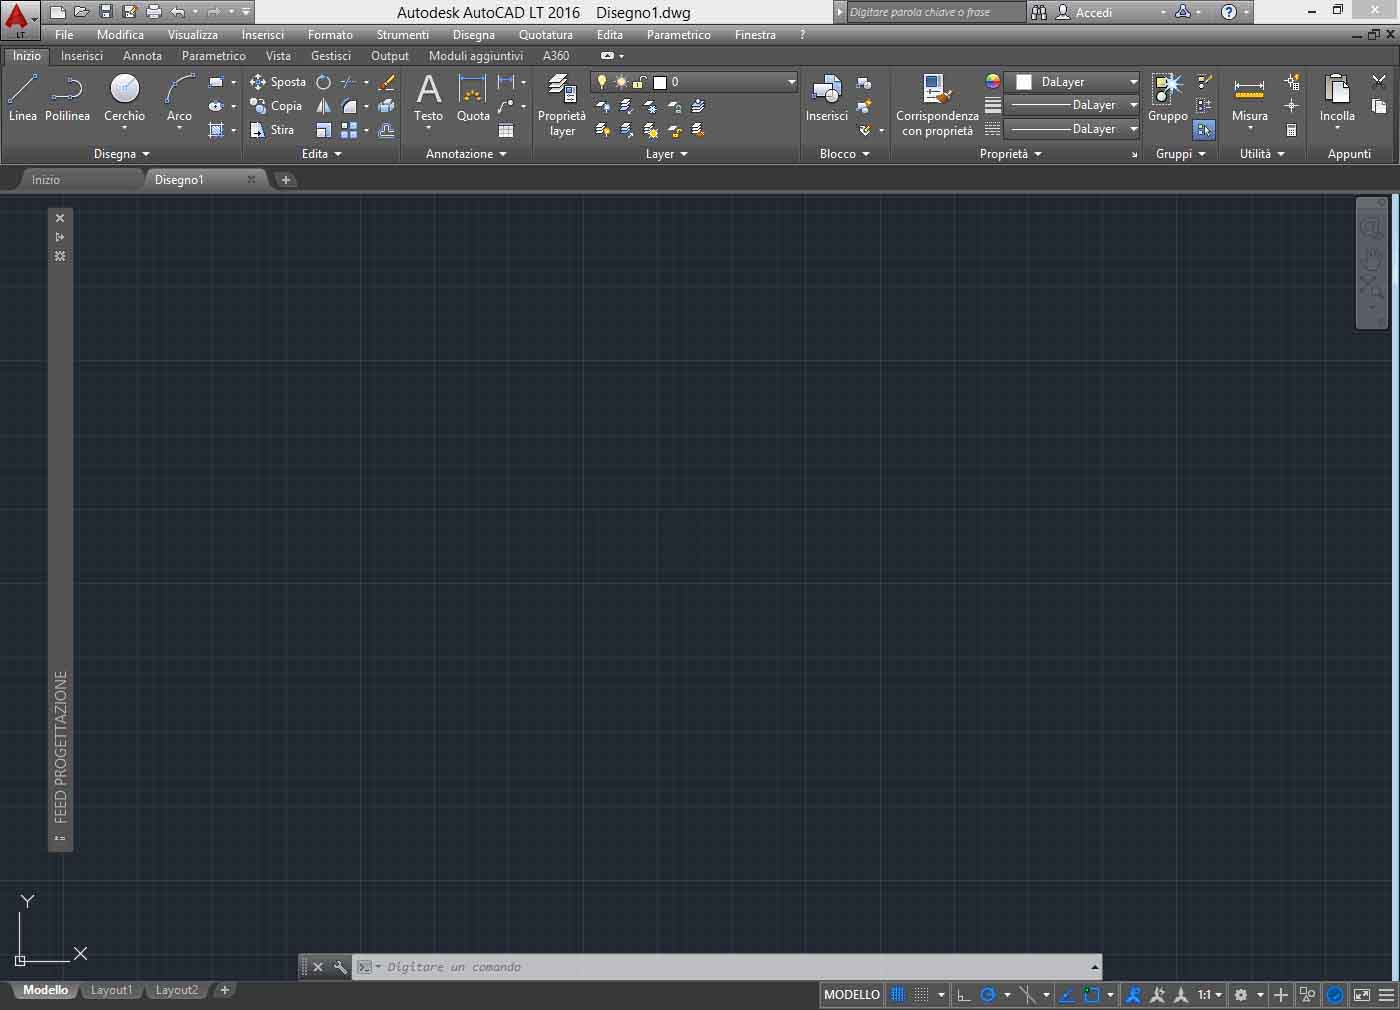
Above AutoCAD LT 2015 with classic interface settings, below AutoCAD LT 2016
From version 2009 onwards has been
made a fairly significant update of the program interface, in particular
it has been given a completely different layout to the command buttons
now grouped in a “Ribbon” at the top on the screen, in groups that
previously (but also now) distinguished individual “toolbar”, we will
see shortly.
Depending on your preferences, we can work with the
classic interface, or with the most recent.
Up to version 2014, this
was rather simple since it was present a special command that allowed to
quickly switching between one interface and the other, usually
positioned in the lower right and upper left of AutoCAD screen, marked
by a symbol similar to a gear. This is the “Workspace” key.
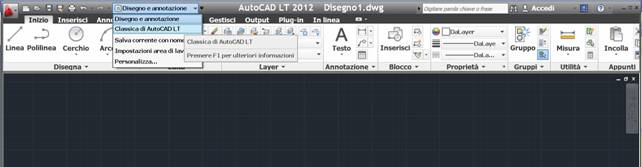

Clicking this button and selecting “AutoCAD Classic”, we got back the old interface with toolbars.
In the latest versions 2015 and
2016 is the key to set the work area, but was taken off the setting
“AutoCAD Classic”.
Is still possible get it but we will have to set
manually, I will explain in a moment how.
First, to start anything
you need to open a new design, with the latest versions of AutoCAD, on
the screen that appears when you start the program click on “Start
Drawing”.
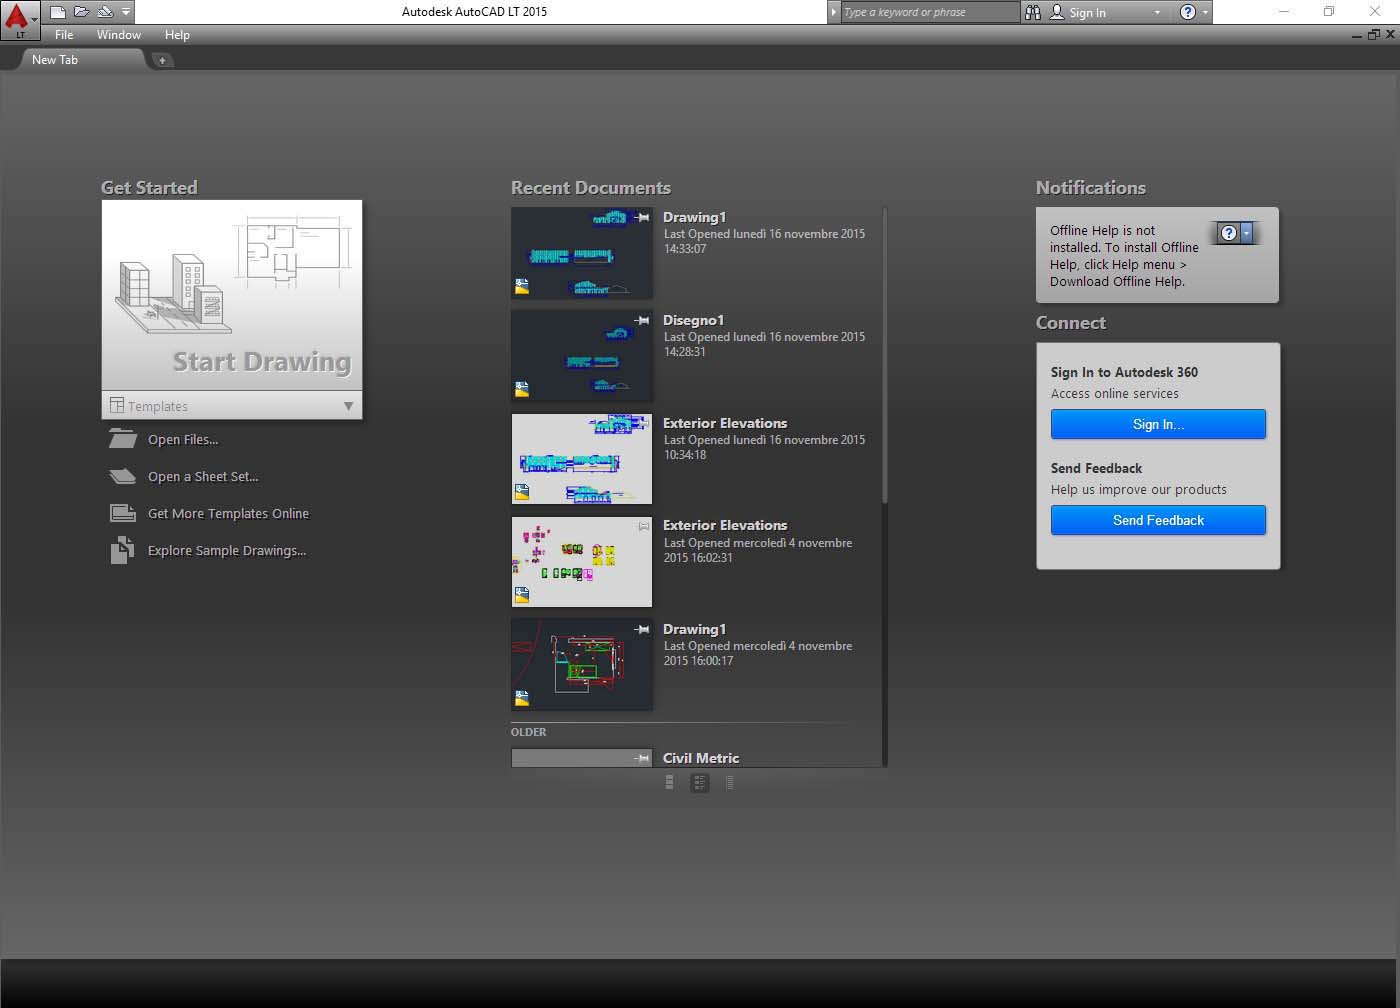
This will open a new design and we can start working.
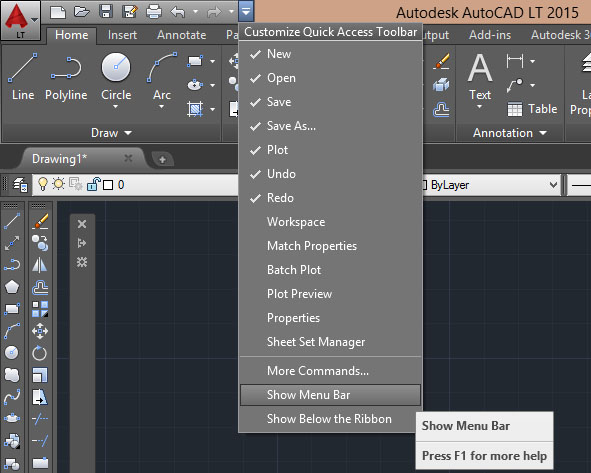
At this point, a particular note is that in versions with the
“ribbon” is not initially present the “menu” bar:

Do not confuse it with the entries below "Home, Insert, Annotation, etc. which are the names of tabs containing groups of commands.
In the upper left, there is a small
“toolbar” for quick access, by clicking the arrow to the right of this
bar you can tick the "Show Menu Bar" to make it appear.
On the same
menu, tick also “Workspace”.
It will be necessary for the indications that I will give you during the course.
Then we have the central area, or drawing area (usually a black background), with the center of the cursor or “crosshairs” controlled by the mouse.
In addition to this in the bottom left, still in the drawing area, you should see an icon with two arrows and the letters X, Y.
This is the icon called “UCS” and represents the coordinate axes X, Y on which you move the crosshairs.
Another very important part, and I ask you to remember is the “command line”, which is the window at the bottom on two or more lines where you see write “Type a command:”.
It is very important especially in the beginning you pay attention on what is write in this window when you run the command, AutoCAD every time you use a command, here shows you the steps to run it.

The command line, in the course of the updates has changed slightly aspect; in particular, in the latest versions 2015 and 2016 it has reduced to a small line located at the bottom in the drawing area.

It is manageable as a toolbar that can be closed also, be careful not to do it and eventually just press CTRL + 9 to reactivate it.
Under the command line, we have another button bar, which we will call the “bottom bar”.

On older versions of AutoCAD it was different and on
each key there was a name that called the function in question, with the
latest software versions these names were replaced by symbols.
We can use these buttons to set some important functions that we
will see during the course.
Tweet